Dutch Oven Cooking
 Dutch Oven Cooking
gearweare.net
A useful cooking method to master for your time out in the woods is the Dutch oven method. It makes great use out of the coals from the fire you are bound to have and produces some great meals as well. Whether you’re an experienced chef or have the skills to get by, there are options for you with this method. It was quickly adopted by the cowboys of the Wild West due to its simple and efficient steps and kept them fed as they spent days out tending to their herds. Use these steps and safety tips to get you on your way to mastering this backcountry cooking method.
Table of Contents
History of Use
Using the Dutch oven method goes back centuries but was most widely used in the Wild West days. Ranchers and cattlemen would utilize the ease of this method when out tending to their herds. All that was required was a sturdy cast-iron pot and a lid, which were easily transported and sturdy enough to handle the harsh conditions of backcountry traveling. Keeping with that mentality, Dutch oven cooking is easily adopted by backcountry hikers with the advantage of new lightweight equipment meaning that the heavy cast-iron of the past doesn’t have to be carried in.
How to set it up
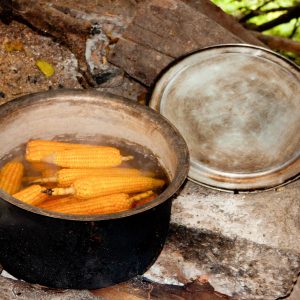
Setting up this form of cooking is relatively easy and can be done quite quickly if you’ve already got a fire burning. Simply follow these short steps and you will be on your way to a great tasting backcountry meal.
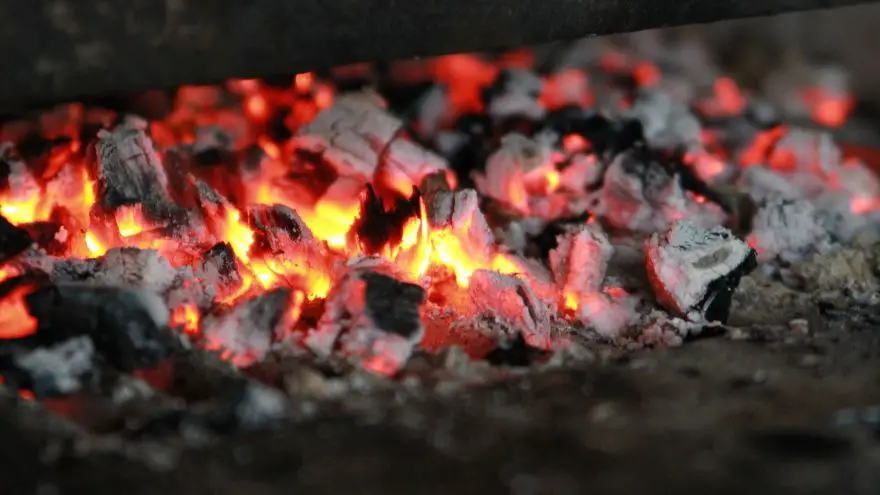
Step 1 – Take the coals from your fire and spread them evenly creating a single layer. This layer should be hot but not too hot that you couldn’t hold your hand near the coals briefly.
Step 2 – Prepare your meal, place it in a cast-iron pot and secure the lid tightly over the top.
Step 3 – Place the pot on top of the coals and press down slightly to secure it so there isn’t any shifting during the cooking. The last thing you need is for the pot to tip over with your dinner after a long day of hiking.
Step 4 – Shovel a layer of hot coals on top of the lid to your pot. These coals should be hotter than those of the base layer.
Step 5 – Replace the top coals as they cool with more hot coals and repeat until your meal is complete.
Step 6 – Clean off the lid, remove from the heat and serve.
Safety Tips and Considerations
As with the use of fire in any situation you should always choose a site that is clear of any debris and dry brush. The site should be clear with a radius of several meters to keep the risk of stray embers from igniting new fires. Even if there aren’t any visible risks radiant heat from the flames can be a big danger. Vegetation buried below the surface can heat up and cause fires. When putting out your fire make sure to over soak the pit to ensure all hear is dampened. Overhanging branches from trees cause the same risk so avoid covered sites. When choosing the wood you are going to use make sure it is dry. Wet wood will cause an excess of smoke. This will affect the taste of your meal but more seriously if the smoke gets out of hand it can cause issues with visibility making it hard to tend to your meal because you’re distracted with burning eyes.
The most important safety tip for your own health is the heat of your coals. If you are cooking vegetarian dishes then you won’t be as concerned with this but meat-eaters pay attention! Coals on the top layer should be hotter than the bottom layer and need to be monitored for their temperature. Coals that are left to cool and aren’t replaced will leave meat undercooked and dangerous bacteria like salmonella can be ingested as a result.
Types of Meals that do best with this method
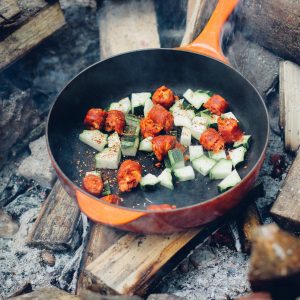
There aren’t really a lot of restrictions to the types of meals you can cook with the Dutch oven method. A quick search of Google produces countless tasty options. Chilies and stews are always a hardy meal appreciated by tired hikers. Dutch ovens make easy work of casseroles, bread, and sweet desserts as well. You can make as simple a meal as you want or channel your inner top chef. No matter what ingredients you pack, there is a delicious Dutch oven recipe waiting for you.
For a few tasty temptations to get you in the mood to try out this cooking method, check out some of the links below.
http://pinchofyum.com/10-easy-recipes-you-can-make-in-a-dutch-oven
http://50campfires.com/35-incredibly-easy-dutch-oven-recipes-camping/
http://www.huffingtonpost.com/entry/dutch-oven-recipes_us_583c483ee4b01ba68ac534be
Mistakes to be made
This is a relatively straightforward cooking method and it will produce quality recipes when done correctly. Here are a few mistakes that can be made with this method. Consider them before starting and save yourself the hassle of learning the hard way.
Tip 1 – Ensure your base layer is even. If it isn’t stable your whole meal could end up in the coals and it will turn into a granola bar and a spoonful of peanut butter.
Tip 2 – When removing the lid make sure all the coal and debris is cleaned off or else you will end up with ash in the pot covering your food.
Tip 3 – Keep a watch over the temperature of the coals you are using. If they cool down and aren’t replaced then your food won’t cook evenly and in the case of meat, it could lead to some health risks as well.
Final Thoughts
Whether you’re out for a day or enjoying the farthest reaches of your local national park be sure to pack a lightweight cast-iron pot and some of your favorite ingredients to try out some new Dutch oven recipes. Choose a clear spot to set up your fire, prepare your coals, and get going with this efficient cooking method. Use these steps and safety tips to start you off on this new culinary adventure!


